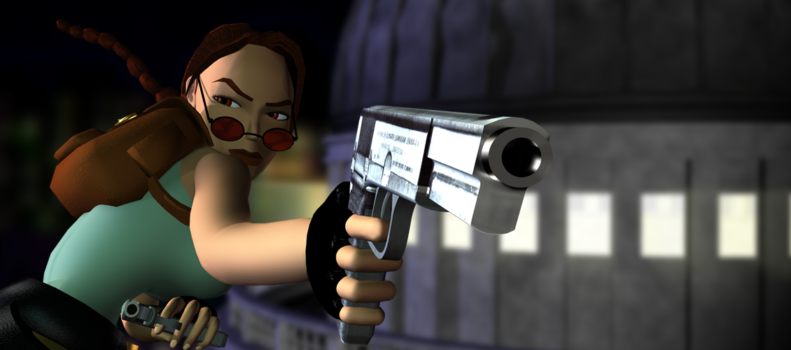
This is the walkthrough and video walkthrough for Tomb Raider III: Adventures of Lara Croft. Find all the secrets and puzzle solving below. The video walkthrough was extracted from Youtube thanks to Tartancroft and the text walkthrough thanks to Stella.
1. Jungle | 2. Temple Ruins | 3. The River Ganges | 4. Caves of Kaliya | 5. Nevada Desert | 6. High Security Compound | 7. Area 51 | 8. Coastal Village | 9. Crash Site | 10. Madubu George | 11. Temple of Puna | 12. Thames Wharf | 13. Aldwych | 14. Lud’s Gate | 15. City | 16. Antartica | 17. RX-Tech Mines | 18. Lost City of Tinnos | 19. Meteorite Cavern | Bonus: All Hallows | Croft Manor (Tutorial)
15. City
Follow Sophia Leigh through the door in the corner of her office. She’ll be waiting outside on a ledge of the adjacent building. DON’T SHOOT AT HER. She can’t be killed with conventional weapons, so don’t even waste any ammunition on her. Instead, climb up to the electrical panel and shoot it to electrify the walkway where Sophia will be standing. (Detailed directions follow.)
As you climb, Sophia will continue to fire energy bolts from her artifact. Expect to take some hits. Use medipaks as you go along. There are additional medipaks scattered along the ledges. If you’re desperately low on health, go ahead and pick them up. But if you have enough to last, wait until later to get them. If you keep moving, Sophia won’t be able to hit Lara as often, since she climbs as Lara does and doesn’t fire as she’s climbing. Once you’ know where you’re going, it’s not all that difficult.
First, run up the ramp on the right side of the opening. Climb up onto the ledge, turn around and either take a running jump to grab the ledge on the left side, or grab the grate in the ceiling and traverse over to the ledge near the pink light. Climb onto the block on the left. Turn around and pull up onto the next ledge.
Run across the bridge to the right side and press the button to open a trapdoor behind you. Run back across the bridge to left side. Climb up. Turn left and climb to the next level (above the white light). Cross the bridge back to the right side. Jump and grab the yellow grating ladder and climb up. Crawl through the low opening to the other side. Turn around, climb up and, if you want to, crouch behind the angled block until you hear Sophia pause for a power-up. Then take a running jump across the gap to grab the ledge on the left side (above where you were earlier). Pull up and walk forward. You’ll find the electrical panel on your right. Shoot it to turn on the current in the walkway and put Sophia out of your misery.
Now you can go for all the goodies. Just make sure not to step on that electrified walkway. There’s a small medipak near the crawl space, small and large medipaks on the walkway at the level of the ladder, and another small medipak on the level where the button is.
To access the level’s SINGLE SECRET, get on the ledge below and to the left of the trapdoor. Drop backwards and hang from the edge. Traverse to the left, then drop and grab the opening below. Crawl in for a rocket and another large medipak. Safety-drop out through the little opening and climb back up to the highest ledge on the right side (above the crawlspace).
Take a running jump from there across the gap to the building where Sophia was (just below the helipad). Climb up the cement ledges (near the white light). Drop down on the other side and use the button to turn off the current. Take the EYE OF ISIS to end the level.


