Tomb Raider IV Walkthrough

This is the walkthrough for Tomb Raider: The Last Revelation. Find all the secrets and puzzle solving below. The video walkthrough was extracted from Youtube thanks to Tartancroft and the text walkthrough thanks to Stella.
1. Angkor Watt | 2. Race for the Iris | 3. The Tomb of Seth | 4. Burial Chambers | 5. Valley of the Kings | 6. KV5 | 7. Temple of Karnak (1) | 8. Great Hypostyle Hall (1) | 9. Sacred Lake (1) | 10. Temple of Karnak (2) | 11. Great Hypostyle Hall (2) | 12. Sacred Lake (2) | 13. Tomb of Semerkhet | 14. Guardian of Semerkhet | 15. Desert Railroad | 16. Alexandria | 17. Coastal Ruins | 18. Catacombs | 19. Temple of Poseidon | 20. The Lost Library | 21. Hall of Demetrius | 22. Temple of Isis | 23. Cleopatra’s Palaces | 24. City of the Dead | 25. Chambers of Tulun | 26. Citadel Gate | 27. Trenches | 28. Tulun, Citadel, Trenches (2) | 29. Street Bazaar | 30. Citadel | 31. Sphinx Complex | 32. Underneath the Sphinx | 33. Menkaure’s Pyramid | 34. Inside Menkaure’s Pyramid | 35. The Mastabas | 36. The Great Pyramid | 37. Khufu’s Queen’s Pyramids | 38. Inside the Great Pyramid | 39. Temple of Horus
38. Inside the Great Pyramid
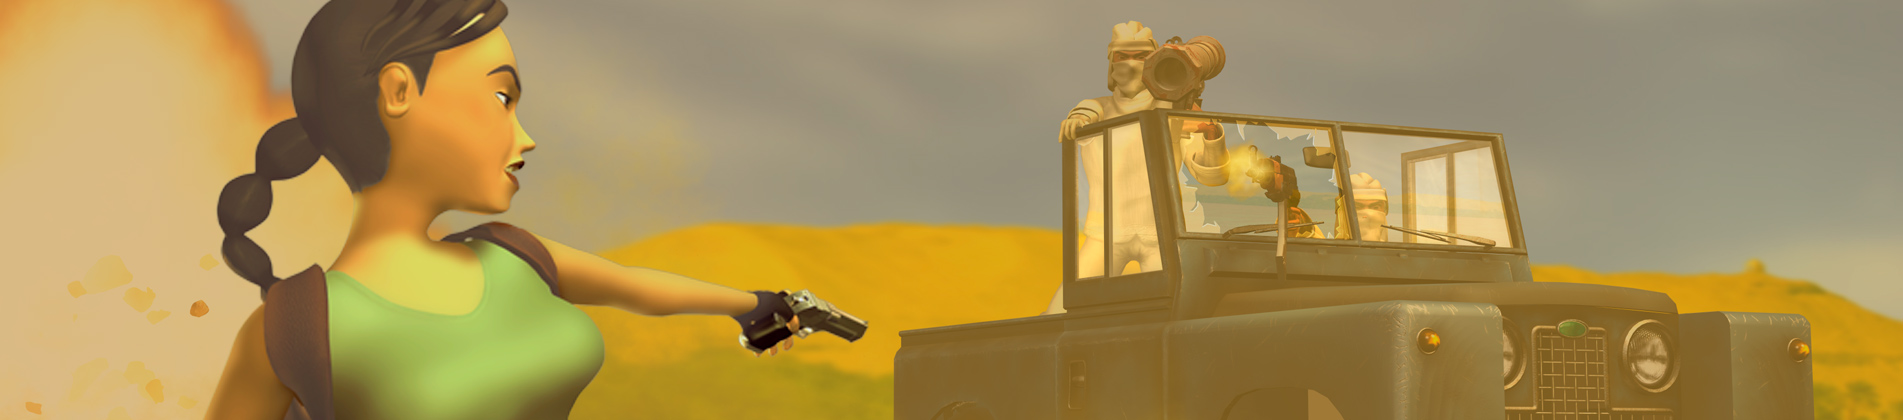
MAIN TUNNEL WITH HAND RAILS AND PITS: Follow the tunnel down to the first deep pit. To get across, take a standing or running jump from the middle-right side to the middle-left, where the ledges protrude farther. Despite all the conniptions you had to go through to get here, Von Croy’s henchmen have arrived first. Kill the blue-robed bad guy who approaches from farther along the corridor, then an assassin in red and black who comes down from the passage on the right.
NOTE: The shotgun works fine for the men in blue. The assassins are more challenging due to their spinning blades. If you don’t have explosives to spare, poison arrows work well. They seem to get past the blades easily. If you’re low on special ammo, you can always fall back on old tactics from the Karnak levels.
Pick up some Uzi ammo that the first enemy dropped. It’s possible to explore farther down the main tunnel, but there’s a closed gate that prevents you from going too far. We’ll return this way later. For now, enter the side tunnel where the assassin came from. Follow the ramp up to the first landing and kill another man in blue waiting on the left.
WIDE HALLWAY WITH TWO RAMPS: Near where the last enemy was standing is an open gate. After you pass through, the gate closes behind you. The tunnel beyond seems to have collapsed, leaving ramps on two sides. Another assassin and 2 pesky bats approach from the top of the twin ramps. Focus on the assassin first, then switch to pistols and kill the bats. You’ll probably need to advance partway up either ramp to wake the second bat.
Follow the lower hall between the ramps. When you reach the downward slope, a pair of sliding block traps activates. To get through, position Lara on either side of the passageway, about one walking step back from the first sliding block. Press Look and check to make sure Lara is facing straight ahead along the passageway. Then, as the first block slides away, sprint forward to clear both blocks. Or, take a standing jump past the first block and stop. Then repeat the same maneuvers to get past the second block.
ROOM WITH MARBLE BASIN: Kill the 3 wild dogs lurking inside: one on the left, one on the right, and one behind the marble basin. Go around to the back of the basin to find a wide crack where you can get inside. Pick up the small medipack and WOODEN TORCH.
Light the torch on one of the burning torches mounted on the wall and use it to light each of the 4 unlit torches. This opens the alcove on the west side of the room. Drop the torch by pressing the Draw Weapon button. Enter the alcove and pick up wideshot shotgun ammo on the left. Then use the switch on the right to open a gate elsewhere, letting in 3 more wild dogs. If you stand in the doorway facing the stone basin, the dogs will come to you. Kill them. Then return past the sliding blocks to the tunnel with the two ramps. (You may meet another bat here if you didn’t kill two of them earlier.) Go to the top of the ramps, where you’ll find the gate you just opened. Go through.
Cutscene: A panoramic view of the room with its four skylights and four star-shaped receptacles.
ACTIVATING THE SHAFT OF LIGHT: Use the switch on the wall between two of the receptacles to open re-open the gate down in the passage below, letting in 2 of Von Croy’s minions. If you wait for them to come to you, you can probably kill both with a single grenade or explosive arrow. One drops a box of shotgun shells.
Place each of the 4 SHAFT KEYS in its proper receptacle, activating four beams of blue light. When you place the last key, the beam of light blows a hole in the floor and the light shines down the long vertical shaft below.
NOTES: You can use the switch before or after the keys, but I found it easier to deal with the approaching enemies before activating the light and blowing a hole in the floor. If you are missing the EASTERN SHAFT KEY, you can go back to the previous level now to get it. If you’re missing any of the others, you’ll need to cheat in order to continue.
ENTERING THE TEMPLE OF HORUS: Return down the ramps to the gate you just re-opened with the switch, but don’t go through. Instead turn around and follow the hallway between the ramps, past the sliding blocks, to the ROOM WITH THE MARBLE BASIN. Now the east (right) alcove is open. Go in and pick up a large medipack. Then use the switch to open another gate down near the SHAFT OF BLUE LIGHT.
Exit past the sliding blocks then continue through the gate and down to the MAIN TUNNEL. Here you’ll encounter 2 more blue-robed baddies, one on each side of the doorway as you re-enter the MAIN TUNNEL. The one on the left drops a small medipack when he dies.
If you want all kills and pick-ups, head up the slope toward the entrance. Take a running jump along the right side of the pit to grab the opposite edge. Pull up and continue up the slope to confront an assassin who enters from outside. Wait for him come halfway down the slope before killing him, or you may be unable to pick up the large medipack he drops. (The first time I killed him, he fell near the entrance, so I couldn’t get close enough to pick up the medipack without triggering the level transition.) Turn around and take a running jump back across the pit.
Continue downhill. Shoot a bat as you approach the edge of the next pit. (If you didn’t get the Uzi ammo one of the first enemies dropped here, it should still be lying somewhere nearby.) Take a standing jump across the gap. (A running jump is too long and will make Lara overshoot the ledge.) Kill another bat. Switch weapons if you like. Then take a running jump across the next pit and kill another bad guy in the passageway ahead.
Before jumping across the next pit, turn around and and light a flare (or equip the BINOCULARS and press Action to activate night vision) to spot a small alcove down inside the dark pit. Take a standing jump down to this alcove and pick up the CROSSBOW (or normal arrows if you already have the weapon). This is the level’s only SECRET (70/70).
Turn around so the secret alcove is behind Lara. Walk to the edge and take a standing jump to grab the opposite rim of the pit. Pull up. Take a standing jump over the next pit to another narrow ledge. Step off the edge to land on the ledge below, where you’ll find a large medipack. Switch to pistols again if you like, then take a standing or running jump across the last pit toward the gate. (It should be open if you used the switch in the east alcove of the ROOM WITH THE MARBLE BASIN.) Enter and kill 3 more bats. If Lara loses a little health in this encounter, don’t bother using a medipack, since you’re about to change levels, and her health will be restored.
Approach the opening with the SHAFT OF BLUE LIGHT. Turn around, hop back, and grab the edge. Climb down the carved wall of the shaft, then over to the opening on the right (west) side. Drop down into this passageway and follow it into the next level.