

This is the walkthrough and video walkthrough for Tomb Raider I (1996), the first game. Find all the secrets and puzzle solving below. The video walkthrough was extracted from Youtube, with the permission and collaboration of the user Stella (text) and LaraPL (video).
1. Caves | 2. City of Vilcabamba | 3. Lost Valley | 4. Tomb of Qualopec | 5. St. Francis Folly | 6. Colisseum | 7. Midas Palace | 8. Cistern | 9. Tomb of Tihocan | 10. Temple of Khamoon | 11. Obelisk of Khamoon | 12. Sanctuary of Scion | 13. Natla Mines | 14. Atlantis | 15. The Great Pyramid | Croft Manor (Tutorial)
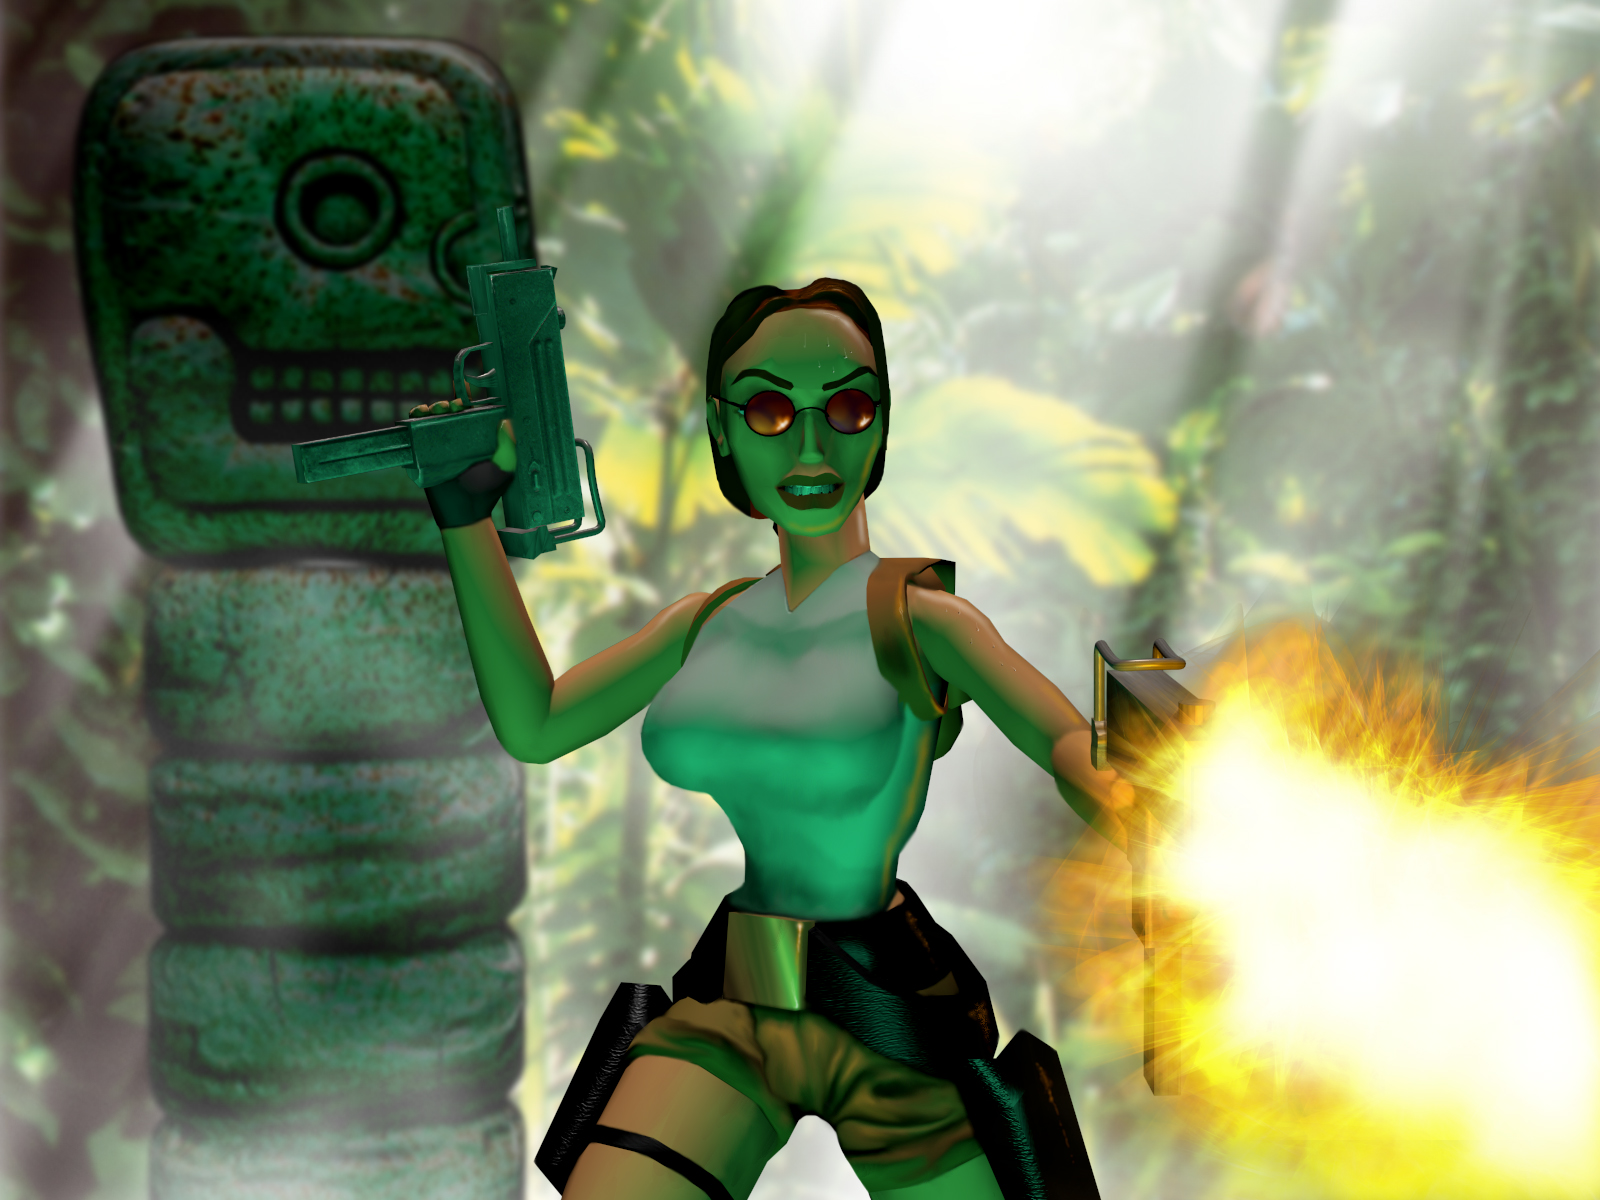
1. Caves
Follow the paw prints in the snow straight ahead. Shortly you’ll reach an area with slits in the walls. This is a dart trap. Keep running and Lara should get past the darts with little or no damage. As you round the corner, the camera view shifts up and to the left to show where you need to go next, but before climbing up there do a little exploring: Continue straight ahead into a rectangular cave with an angled block in the far left corner. Note the opening in the wall above this block. The ledge is a little too high to grab, so use the block to give Lara a boost. Grab onto the back of it, pull up and slide down the face. Press Jump and Action as you slide to grab the ledge. Or, stand Lara in front of the block with her back to the angled surface, then backflip onto the block and hold Jump and Action to bounce off the slope and grab the ledge. Pull up into the small cave, where you’ll find SECRET #1, a small medipak.
Jump down and go to the right to the raised opening where Lara looked up before. Climb up over the rocks and through that opening. Draw pistols as you move into the cave, to take advantage of the game’s auto-aim feature. Three bats fly in from the caves ahead, and Lara will probably spot them before you do. As soon as her arms move to aim, press Action to shoot. When the bats are dead, head into the cave on the left. In the far right corner is a low snowdrift below an opening high on the wall. Stand on this drift facing the wall below the opening and sidestep to the left as far as possible. This raises Lara up a bit. Don’t try to jump up; just stand close to the wall and press Action + Forward to grab the ledge and pull up. Kill another bat in the cave above and pick up SECRET #2, a small medipak.
Drop or jump down and return to the big cave where you shot the 3 bats earlier. Turn left and proceed to a cave lined with greenery. Go down into the opening to the left. Keep descending to the bottom, where you’ll find a closed door. Use the Action key to pull the switch next to the door to open it. Enter and kill the bat that swoops down. The wooden gate on the right does not open. Instead head to the far left corner and climb up through the opening there.
Follow the passageway to a landing above a room with two wooden bridges. Two wolves lurk below. They’re asleep when you arrive but will rouse and begin to pace as you approach the edge. You can shoot them from above if you’re patient or hop down and take them on.
When you’ve taken care of both wolves, head for the far corner of the room. Either follow the perimeter, using the bridges to get from side to side. Or, after dropping down into the area below the bridges, walk to the second bridge, stand below it near its middle, jump straight up to grab it and then pull up. Or, climb onto the ledge above the alcove with the mummy. Then cross the second bridge. Go through the doorway in the corner of the room beyond the second bridge.
A bit farther on is a gap with a bear lurking below. If you want to, you can easily kill the bear from above. Draw pistols and Let Lara get a target lock on it, then hold the Action key to fire. As long as you keep holding Action, Lara will continue to target the bear and shoot at it whenever it comes into range. When it’s dead, safety drop down into the room below.
(NOTE: To safety drop, stand near the edge, turn around so Lara’s back is toward the open area and then hold Action and tap Back. Lara will drop and hang from the edge. Release Action and she’ll drop to the ground. Doing this gives her a shorter distance to fall, so she will not lose health as she would by just running or jumping off the edge.)
After dropping down into the bear pit, continue through the one door leading out. A bat will emerge as you enter, and another bat swoops down as you go a little farther into the room. Next you’ll come to an area with a small medipak on the ground and a different-looking tile in the floor next to it. Stepping on this tile opens the door. It closes fairly quickly, so position Lara so she’s facing the door, step on the tile, then run through.
You’re now back in the room with the bridges. Climb back up and retrace your steps to the gap with the dead bear below. Take a running jump across that gap.
(NOTE: Now is a good time to learn that jumping technique if you didn’t get it in the training level. Stand on one of the two slightly raised areas at the edge. Walk Lara to the edge, then take a single hop back. Press Forward and Jump, and Lara will run two steps then take off into the air on the third. She’ll land safely on the other side. If you set up jumps this way, Lara will never run off the edge and almost never miss a landing.)
On the other side of the gap there’s a save crystal in the PlayStation version. Behind the columns to the left of the stairs, you’ll find another small medipak. Retrieve it and descend the stairs, guns drawn. A pair of wolves waits at the bottom. (Try side- or backflipping while shooting to avoid taking too much damage.) Enter the room at the bottom of the stairs.
Note the vegetation-covered ledge on the left side of the room. The greenery conceals an opening, but the ledge is too high to reach from the floor. So climb up on either side—onto the landing with the pillars on the left or the stone ledge on the right—and take a running jump to the ledge with the greenery. Inside is SECRET #3, a large medipak. Exit, drop down and head for the opposite right corner of the room. In an alcove under the stairs is a small medipak.
On the ledge to the right of the big carved exit doors is the switch that opens them. The doors are timed to close after a short time. Climb up, throw the switch, then flip to the left (Jump + Left together) onto the low wall below. Sidestep to the left edge of the wall, then flip left again onto the platform with the door. Run through before it closes.
Continue forward and around the corner. Take the steps at a run to avoid the dart trap. Draw pistols near the top, because a wolf waits in the room above. It’s lurking in the alcove on the left as you enter. When you’ve taken care of it, step on the break-away tiles at the center of the room to fall through to the room below.
You’re now in a long room above a wide hallway. Below, at one end of this hallway you can see the wooden gate you couldn’t get through at the beginning of the level. The long hallway is lined with dart traps and the exit doors are closed. So, don’t drop down yet. (NOTE: If you do drop down, you can climb back up using the rocks to the left of the exit doors.)
Go to the far end of the room and turn left. Take a running jump across the gap to the opposite side. Turn left and head toward the large medipak on the ground. Another wolf comes out of the room ahead. Kill it, pick up the health pack and continue forward into the alcove from which the wolf emerged. Use the switch there to open the exit doors. Leave the switch room, turn right and go through the first opening overlooking the exit. Hop down, slide to the ground and go through the big doors to end the level.