Tomb Raider (1996) Walkthrough

This is the walkthrough and video walkthrough for Tomb Raider I (1996), the first game. Find all the secrets and puzzle solving below. The video walkthrough was extracted from Youtube, with the permission and collaboration of the user Stella (text) and LaraPL (video).
1. Caves | 2. City of Vilcabamba | 3. Lost Valley | 4. Tomb of Qualopec | 5. St. Francis Folly | 6. Colisseum | 7. Midas Palace | 8. Cistern | 9. Tomb of Tihocan | 10. Temple of Khamoon | 11. Obelisk of Khamoon | 12. Sanctuary of Scion | 13. Natla Mines | 14. Atlantis | 15. The Great Pyramid | Croft Manor (Tutorial)
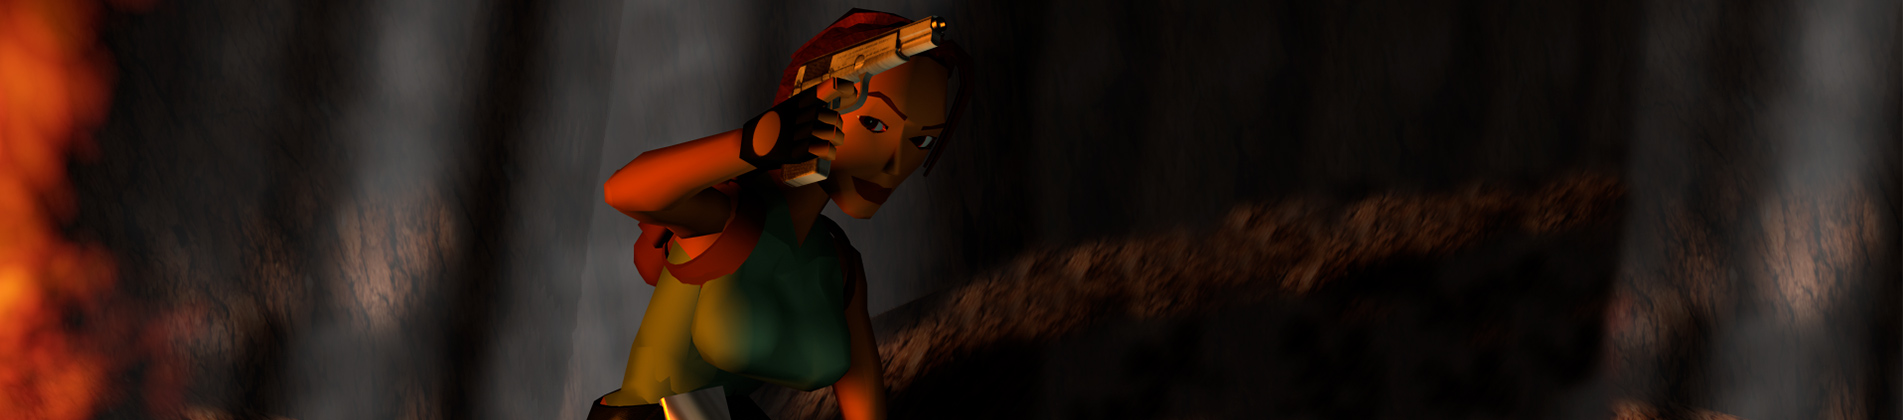
4. Tomb of Qualopec
Follow the passage to a large room with ornate wall decorations. There are three other doorways leading out of this room: The one to the left has a series of three gates blocking it. You’ll need to find switches to raise each of them. The one to the left is closed for now.
Cross the room and start up the sloped passageway straight ahead. After you’ve taken about 5 steps up the ramp, the gate at the top closes and a boulder drops from the ceiling and rolls down the ramp. Quickly roll and run down the ramp. At the bottom, run to either side to avoid being flattened. The boulder will roll across the room and into the passageway through which you entered. If you approach the gate at the top of the sloping passageway, you can see into the room beyond, but you can’t get inside yet.
Return to the room at the bottom of the ramp. Find the switch on the wall to the left of the passageway where the boulder went. Pull it to open the nearby door, then immediately roll and draw weapons (I like the shotgun here) to dispatch the 2 velociraptors that charge out.
Follow the hallway the raptors came from to a 4-way intersection. (There’s a save crystal here in the PlayStation version.) Note the pictures over the doors: To the right a face, ahead a sun, to the left a bird. Each door leads to one of the switches that raise the gates in the passage leading out of the big room near the start. You can explore these side areas in any order. Here I’ll start with the right door (face).
Follow the hallway until you see an area on the left wall that looks different from the rest. Push this movable block twice and you’ll see another movable block to the left. Push the second block once to open up the passage beyond. Run across the break-away tiles without pausing. When you reach the other side you’ll see the deadly spikes those tiles had been concealing. Pull the switch to raise one of the three gates. Turn around and walk to the edge of the spike pit. Take a standing jump over it and return to the 4-way intersection.
Now, go straight ahead through the door with the bird picture. Follow this hallway to a room with a switch. Don’t pull it yet. (If you already did, pull it again to return it to the up position.) There’s also a closed door to the right of the switch. The switch to open it is elsewhere. Leave it for now; you’ll return here later. Drop down into the next room, which contains a pair of tall, movable blocks with bird motifs on them and a spiked area on the floor in one corner.
Go through the doorway to the left (south) and climb the stairs to emerge on top of one of the tall blocks. (To distinguish between the two, I’ll call this block #1. It’s the one near the spikes. Once on top of block #1, turn right, walk to the edge, then jump and grab the opening ahead. Climb up into the passageway above and follow it until you reach an opening in the floor. Drop down twice. Then climb down to the left (west) until Lara is standing on top of block #2. (The right/east passage leads back to the entrance with the switch you didn’t pull earlier.) As you climb down, you can hear the sound of a door opening elsewhere. (This is the door near the switch you didn’t pull.) Once on top of block #2, walk to the right edge then jump and grab the opening ahead. Pull up and proceed until you come to a switch. Use it to move block #1 out into the room. Then return to the room with the blocks and drop down to the floor.
Climb up into the doorway where you first entered this room (above the low ramp). Now, throw that switch you didn’t use earlier to move block #2. To the right of the switch is the door you heard opening when you were in the passageway above. Go through it and climb over the ledge ahead to the raised alcove near block #2 (which moved when you pulled the second switch). Take a running jump onto that block. From there take another running jump to block #1. Now you can take a final running jump over the spikes to the doorway. Inside you’ll find the switch to open the second gate in the set of three. Use it. Then jump from the doorway over the spikes to the clear floor beyond.
Climb back up into the room with the switch above the low ramp. Another velociraptor will attack from the hallway beyond. Kill it, dropping back into the block room for safety if necessary. Then follow the hallway back to the 4-way intersection.
Go through the remaining door—the one on the left with the sun picture over it. Proceed to an alcove with a break-away floor and a switch on the wall. The switch is useless so don’t even bother trying to pull it. Instead step into the alcove and quickly hop back. The floor will fall in. There are 3 wolves in the room below below. So turn around, drop and hang from the edge of the opening. Let go and as you drop, draw your weapons, so Lara lands ready to fight.
When all the wolves are dead, climb onto the ledge at the top of the ramps. Find the movable block set into the middle of the wall. Pull it once. Then go around to either side and push it to reveal a passageway behind. Go up the stairs. Partway up there’s a hole with a small medipak in it. Continue climbing until you reach another switch. Use it to raise the third gate. Pick up another small medipak in the corner. Then drop down through the opening across from the switch. Head south to the 4-way intersection.
Continue straight ahead to the main room (with the ramp/boulder trap). Cross the room and follow the hallway, passing under the 3 gates you raised. (PlayStation users will find another save crystal here.) Around the corner is a dart trap. Take a series of running jumps (or dive and roll—Walk + Jump + Forward) to safely pass through the darts.
Before continuing up the stairs, take a detour for a couple of secrets. Stop on the second step. Face left and step down just to the right of the dart pipe. Pull up into the alcove above. The door behind the statue opens automatically. This is SECRET #1. The floor is made of those break-away tiles and there are spikes below. But there’s a solid platform in the far left corner. Run across to it and pick up some shotgun shells. (If you didn’t get the SHOTGUN in the previous level, you’ll get it here instead.)
Drop back and hang from the edge of the ledge. Traverse until Lara is right next to the wall, then drop and she should land safely between the spikes. Pick up the magnum clips, which count as SECRET #2. Then walk through the spikes to the area below the doorway. Sidestep into a clear spot, walk Lara right up against the wall and then pull up into the alcove (Action + Forward). Drop down on the other side, avoiding the darts.
Continue up the stairs to the tomb proper. In the center, on a pedestal, is a piece of the artifact you’ve been looking for. The mummy on the left will not harm Lara, but it does count as one of the kills if you shoot it until it falls. Take the PIECE OF THE SCION and the ceiling begins to collapse. Head toward the gate on the east side of the room, which will open as you approach, and run down the ramp. Keep running across the big room and into the opposite hallway. Sidestep past the boulder and go up the passageway toward the lake. (PS1 users will find a save crystal in the passageway.)
Larson (Jacqueline Natla’s blond minion from the opening movie) is waiting on the other side of the lake, and he doesn’t seem very happy to see Lara. If you aren’t bent on getting all the pick-ups, you can snipe at him from the relative safety of the doorway. If you want everything, start by taking a swim.
Down and to the right is an underwater tunnel. Inside is a small room where you can surface to breathe and pick up SECRET #3, a large medipak and magnum clips.
The final pickup of the level is only for the truly obsessed. Swim back to the lake and surface on the left near where Larson is. Run past him (using a medipak on the way if necessary) and jump up and over the rocks as if you were going to return to the valley. Larson won’t follow. Keep going to the steep wall, climb up and find a large medipak near where the skeleton and medipack were in the Lost Valley level. You can’t go any farther since the tunnel is now collapsed. So return to the cave opening, from which you can shoot at Larson until a cut scene ensues. (He apparently counts as a kill, even through it’s really more of a K.O.)