Tomb Raider (1996) Walkthrough

This is the walkthrough and video walkthrough for Tomb Raider I (1996), the first game. Find all the secrets and puzzle solving below. The video walkthrough was extracted from Youtube, with the permission and collaboration of the user Stella (text) and LaraPL (video).
1. Caves | 2. City of Vilcabamba | 3. Lost Valley | 4. Tomb of Qualopec | 5. St. Francis Folly | 6. Colisseum | 7. Midas Palace | 8. Cistern | 9. Tomb of Tihocan | 10. Temple of Khamoon | 11. Obelisk of Khamoon | 12. Sanctuary of Scion | 13. Natla Mines | 14. Atlantis | 15. The Great Pyramid | Croft Manor (Tutorial)
7. Midas Palace
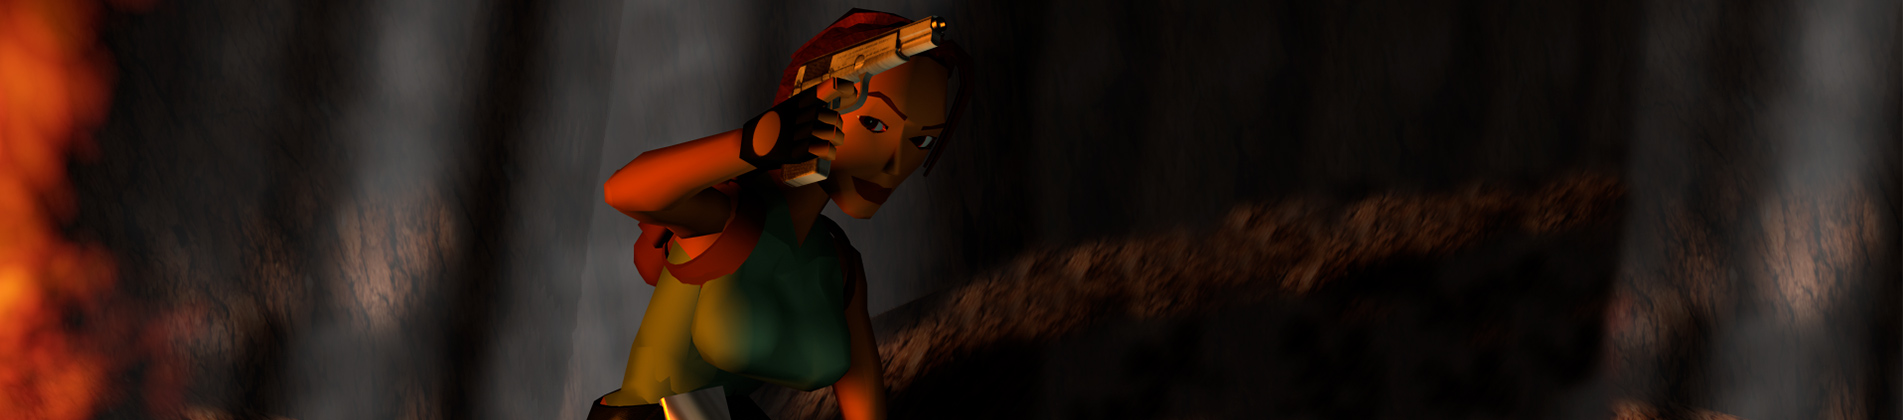
Keep swimming, surface in a lovely pool decorated with dolphins and climb out of the water. There are three side passages leading out of this room at ground level (and more up above). For now, draw weapons and head through the doorway on the north side, the same side as the underwater gate. Kill the crocodile in the hallway and continue to the base of a stairway. Don’t go up yet. Instead turn right and follow the long passageway to an open area with a tall building.
Advance slowly to the left with weapons drawn. Give yourself room to back up while shooting at the 2 lions that emerge from the second to last alcove. If you go in slowly, you can probably draw them out one at a time. You can also climb up on one of the low blocks near the entrance where the lions can’t reach. When they’re dead, continue to the far left end of the room where it’s darker. Kill 4 bats there and pick up a small medipak on the floor on the left. The sound of running water here suggests that this structure is actually an aqueduct. You’ll get to the top later on from above.
Turn around and head back toward the hallway where you entered. Pass it and continue to the other end of the room. Behind the building is a narrow alley with a gorilla and 2 sets of magnum clips in it. Kill and pillage. Then return through the long passage to the north (the way you came) to the base of the stairs.
Go up, turn left and continue to a large room. Three more gorillas there need your attention. You can probably shoot them from the doorway by advancing to draw them out then backing up. When all the apes are dead, enter the room.
Here you see a number of tall square pillars, a high platform with 5 switches, plus several doors. Note the inscriptions above the doors. Each has a series of five Greek letters—a different combination of omegas (W), which look like horseshoes with the round end up, and upsilons (U), which look like capital Y’s, for each door. Five symbols, five switches. Omega points up, Upsilon points down. Get it?
(NOTE: If you don’t have the Symbol font installed on your computer, the omegas and upsilons will read as U’s and W’s or else as blank squares in the walkthrough text.)
Before climbing up to the switches, pick up a few items: Cross to the far right (southeast) corner of the room. Here you’ll find the lowest pillar, which you can climb on. Turn around and take a running jump to the next pillar. Then turn left, walk to the edge and take a standing jump to grab the ledge above the door. Pull up, follow this ledge to the far end and take a running jump to grab the ledge ahead. Pull up and retrieve some magnum clips and a small medipak. Safety drop to the floor.
Return to the southeast corner and climb onto the pale tan stone block structure to the right of the switch platform. Climb up to the second level and position Lara facing the switch platform, at about a 45-degree angle. You can check the angle by using the Look button to line up Lara’s head with the second fluted golden column from the left side of the switch platform.) Hop back and then take a running jump (without grabbing) to land on the platform.
If you have trouble making that jump, you can go the long way: Return to the shortest pillar, climb up, take a running jump to the second pillar and another running jump to the third. From there, take a running jump to grab the top of the next pillar. Pull up and take a standing jump to the fifth and a running jump to grab the last pillar. Now jump over to the switch platform, which should be on your immediate right.
Once you’ve reached the switches that open the side areas, you can explore them in any order you like. I suggest you try the most difficult first. Then, if at first you don’t succeed, you can always go on to the other rooms and try this one again later. Lower the leftmost switch so you have, from left to right: Down, Up, Up, Up, Up (UWWWW). The door below near the lowest pillar opens. Go down the stairs in the middle of the platform and use the switch there to open the gate. Now you can reach the switches more easily next time.
(NOTE: See that large medipak way, way up there on top of the light stone structure to the left of the switch platform? You can’t get it without cheating, but it can be done. Check out the note on the Unreachable Large medipak, at the end of the walkthrough.)
Enter the door you just opened (on the south side of the switch room). You’re now facing a pool and five square pillars with torches on top. Stepping on the floor in front of the first torch turns off the flames. You then have about 10 seconds to get to the other side. Here’s how:
First, kill the 3 rats swimming in the pool. Then if you fall in—and you probably will at least a couple of times—they won’t start nibbling as you swim back to the steps. Save your game. (There’s a convenient save crystal here in the PS1 version.) Position Lara’s feet on the brown line in front of the first pillar, squarely facing the middle of the next pillar. The timer doesn’t start until you pass the line, so take your time getting set up. Now, press Forward, then Jump, and hold both keys to take a smooth series of running jumps from pillar to pillar. Use the left and right arrow keys to turn Lara in the air so she lands on each pillar facing in the direction she needs to run. At the fourth pillar keep holding Forward and Jump until take-off then press Action in the air to grab the edge of the last pillar. Pull up and run across the burner as quickly as possible.
(NOTE: If you’re having trouble getting across the torch pillars with the method above, try one of the alternate methods at the end of this walkthrough.)
Pick up the LEAD BAR—the first of three you’ll need to find to finish the level. (There’s also another save crystal on this side of the torches.) Jump in the water, swim back across the pool, climb out on the steps and exit the room. Another gorilla will be lurking about. Kill it and return to the switch platform.
Now arrange the 5 switches to match the inscription over the door to the right of the entrance: WWUWU—from left to right, Up, Up, Down, Up, Down. Descend and enter the room, taking care to walk through the spikes. Go through the doorway on the right and locate the movable block behind the ramp. Pull it twice then go behind it and use the switch there to raise a series of pillars in the room with the spikes.
Go up the ramp and then follow the stairs to the opening at the top. (PlayStation users get a save crystal here.) Walk to the edge of the opening and take a standing jump to the top of the nearest pillar. Jump from pillar to pillar counterclockwise around the room (running jumps all) until you’re facing the opening to a small room. Walk to the edge of the pillar, take a standing jump into the doorway and immediately backflip out onto the pillar. Kill the gorilla from safety and jump back over to retrieve the second LEAD BAR.
Jump back to the pillar, then jump over the spikes to a clear spot on the floor. Or, safety drop from the one of the pillar’s corners to land in a safe spot amid the spikes. Return to the other room and climb back up to the switches.
Arrange the 5 switches to match the inscription over the door to the left of the entrance: WWUUW—from left to right Up, Up, Down, Down, Up. Go through the door, around the pillar at the center of the room and through the doorway at the back of the room. Turn right and go down the stairs to the small room at the bottom. Find the movable block and pull it once to cause the ceiling to collapse in the room above. Go back up the stairs then straight ahead up several more flights of stairs to an opening above the now sand-filled room.
Take a standing jump from the doorway to the flat spot below and to the right. It’s easy to overshoot the flat spot, so aim to the right a bit to land on the slope next to it, or press Action as you jump to shorten the distance Lara travels. From the flat spot take a running jump to grab the broken pillar. Pull up and then take another running jump to grab the higher end of the angled sandy ledge just to the right of the elevated doorway. Pull up again and jump into the doorway.
Climb up the rocks on the right until you come out in a doorway across from a water-filled aqueduct. (There’s a save crystal here.) Mind the gap ahead. It’s a long way down. You can see some items in a hole below, but don’t drop down yet.
Kill 2 bats and 2 gorillas from the doorway. You can probably also target another gorilla running around in the room below. If you can’t kill it from this height, you may be able to injure it so it’ll be easier to kill later. Jump across to the walkway around the aqueduct. If you look down, you’ll notice you’re now high above the area where you killed the lions earlier.
Two crocodiles swim along the aqueduct here. You may need to take a dip to draw them out so you can shoot them from the walkway. When it’s safe, swim through the tunnel at the west end of the aqueduct and surface in a small cave. Climb out of the water on the right. Turn left then climb up on the rocks. Walk forward (with the pool on your left) until Lara won’t walk farther. Jump over the angled block and immediately jump again to land on the rocks ahead. Lara will slide down to a flat spot in the corner. Turn left and walk/slide down to the magnum clips and small medipak, which are SECRET #1.
Swim back through the tunnel and return to the north end of the aqueduct where you entered this area. Safety drop down into the hole with the small medipak, shotgun shells and Uzi clips. This is SECRET #2. If you didn’t kill the gorilla from above, do it now by jumping up and down until you get a pistol lock on it, then continuing to jump and fire until it’s dead. Then take a standing jump out of the hole.
Go into the dark room ahead. It contains many shallow alcoves. One of these—the second on the right—contains a small medipak. Grab it and return to the openings overlooking the area where you killed the two lions earlier. Jump from the left opening to the building ahead on the left. Two more gorillas are hiding ahead—one in the second alcove, another in the farthest. You can probably kill the first one from safety by jumping across the gap to get its attention then back-flipping to the ledge where you started. As you fight, be careful not to fall off the high ledge. If Lara survives the fall, you’ll have to make your way back to the ROOM WITH FIVE SWITCHES and retrace your steps through the SAND ROOM to the aqueduct and drop down again.
After dealing with the gorillas, turn to face the rock wall across the gap. You’ll notice a large medipak in the long, horizontal crevice in that rock wall. Take a running jump to grab the flat part of the crevice at the right end and pull up. If Lara won’t pull up, traverse a little to the left where the ceiling is higher and try again. Take the medipak. Then drop back to grab the edge and traverse all the way to the left. Drop onto the flat block, roll, draw pistols, and kill 2 bats.
Take a running jump back across the gap to the dark hallway that is lit at the far end. Follow this twisty passage up a series of ramps. Then climb the rough stone sblocks until you emerge in a cave with a section of break-away floor. Run across the tiles to the niche with the large medipak. Then take a standing jump diagonally to the right to land on the solid ground beyond. If you fall through the floor, you’ll land in the pool at the end of the aqueduct and have to climb all the way back here.
Slide down the ramp ahead, drop down into the area below, then climb down the rocks to emerge on a ledge above the pool at the level entrance. A lion emerges from the opening on the opposite wall. You should have plenty of time to kill it with pistols as it approaches along the ledge. Follow the ledge around and go through the opening where the lion came out. Continue to another opening on the left side where you can climb up then out onto a ledge.
Be careful not to fall down into the room below or you’ll have to reload your last save or come all the way back to this point from the switch room. (You can also use the corner bug to get back up if you don’t mind cheating.) Kill the 2 gorillas from above. Turn right and take a running jump to the next ledge. Enter a cave with a pool. If you can get a lock on it, kill the crocodile in the water with your pistols before jumping in. Or, swim across the pool quickly, climb out of the water and either kill the croc or just go on.
Continue to the back of the cave and climb the rocks to an opening. Kill 2 bats then jump across the gap to the roof of the temple ahead. Cross the roof and pick up the third LEAD BAR (plus a save crystal).
If you’re patient, you should be able to kill 2 lions and 2 gorillas from the roof before climbing down. If you don’t want to wait for the gorillas to show, you can dangle from the roof to draw them near, or drop down then jump on the rocks at the side of the temple to kill them from safety. When all is clear, approach the temple door, pick up the large medipak and enter (the door opens automatically). Follow the passageway to a switch and use it to open the gate to a garden near the pool at the entrance. (PS1 players will find another save crystal here.)
Leave the temple and go down the stairs to the next room. If you like, you can jump up on one of the blocks to kill the 3 gorillas running around in here. They can climb but probably won’t. Continue on through the far doorway, turn right at the pool where you entered the level and go downstairs to the gate you just opened.
Two more gorillas lurk in the garden. Kill them then find the switch on the left wall behind a small tree. Use it to open the gate a little farther along the left side of the garden. Enter slowly. When you reach the corner a pair of chomping blades begin to work. At this point the chime sounds for SECRET #3. So you can actually go only this far and still have the secret count. But if you want the items, you have to navigate past the trap ahead.
Between the chomping blades is a section of break-away floor with spikes below. So you can’t pass one set of blades at a time without falling into the spikes. You’ll have to jump past both sets. Walk Lara up to about arm’s length from the blades. Listen to the sounds they make. There are two “clangs” as the blades clamp together, then they begin to separate. Take a standing jump past the blades just as you hear the second clang (i.e., just as they begin to separate). Pick up the goodies from around the room—magnum clips, shotgun shells and a small medipak. Exit past the blades the same way you came in. (NOTE: If you don’t already have the MAGNUMS, you’ll get them here in place of the clips.)
Cross the garden to the far right (northwest) corner. Climb on the low ledge, turn around and walk to the edge. Then take a standing jump to grab the edge of the roof. Pull up, take the large medipak and enter the passageway at the back of the roof. Follow the passage to a cave with a statue of King Midas, now in pieces. If you want to, save your game first. (There’s a convenient save crystal on a ledge near the statue.) Then, just for fun, jump onto Midas’s hand. Reload and this time use the magic hand to change those LEAD BARS you’ve collected into GOLD BARS. To do this, face the side of Midas’s palm and “use” the lead bars as you would use a key.
Take your gold bars and return through the garden, up the stairs, past the pool, around the corner to the right, along the hallway where you met the crocodile and straight ahead to the stairs leading up to the switch room. Reset the switches to match the inscription over the last door: UWWWU—from left to right, Down, Up, Up, Up, Down. Go to that door, which is below the right side of the balcony at the north end of the switch room. Enter with weapons drawn and kill the charging lion.
Climb to the top of the stairs and go out onto the balcony to pick up some shotgun shells (and a save crystal). Then come halfway back down the stairs to the doorway. Enter, place your GOLD BARS in the niches in the alcoves and exit the level.