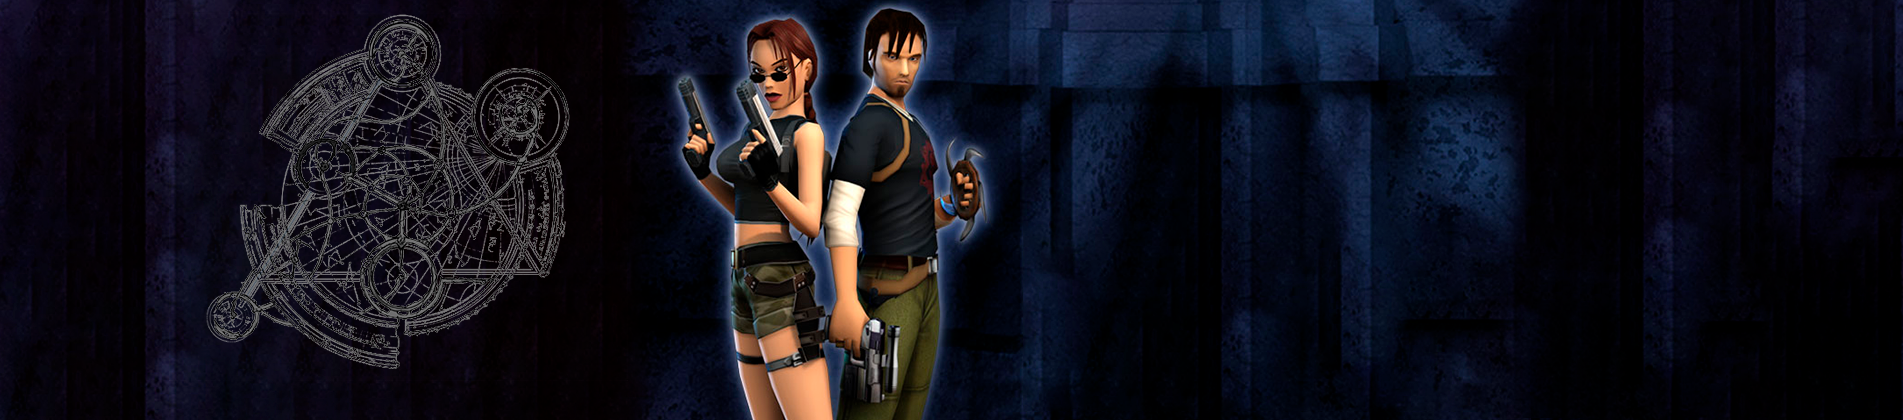
Walkthrough

In this section, you will find the complete guide in text and video format for Tomb Raider: Angel of Darkness. This is the first video game that debuted on PS2. The video guide was taken from YouTube, all credit goes to the user CroftEd.
1. Parisian Back Streets | 2. Derelict Apartment Block | 3. Industrial Rooftops | 4. Margot Carvier’s Apartment | 5. Parisian Ghetto | 6. The Serpent Rouge | 7. St. Aicard’s Graveyard | 8. Bouchard’s Hideout | 9. Louvre Storm Drains | 10. Louvre Galleries | 11. Archeological Dig | 12. Tomb of the Ancients | 13 – 17. The Hall of Seasons | 18. Galleries Under Siege | 19. Von Croy’s Apartment | 20. The Monstrum Crime Scene | 21. The Strahov Fortress | 22. Bio-Research Facility | 23. The Sanitarium | 24. Maximum Containment Area | 25. Aquatic Research Area | 26 – 27. The Vault of Trophies & Boaz Returns | 28 – 29. The Lost Domain & Eckhardt’s Lab
26 – 27. The Vault of Trophies & Boaz Returns
Follow the corridor to the left. Pass through the spikes, swim up to the right. When the spikes above contract, pass over them. At the intersection, swim up. There is a small space to catch your breath. There is a corridor where the current will not let you pass. The other corridor is the one with the spikes. If you are facing the green corridor, go left.
Continue around the lobby (two turns to the left). You will see another intersection. Swim upward and get air. Continue straight ahead in the direction you were coming from and you will find a hole in the hallway on the left. Swim down. Turn right. Continue through the tunnel with wooden frames.
If you go to the right, you will come to a small cave. Take the first aid kit and a small air tank, but don’t use it yet, unless you are about to drown. I didn’t use it, just to explore. Go back through the tunnel until you see a wooden T-junction, go past it and continue straight ahead. Follow this path until you see a gray brick wall. Lara will kick the wall. Swim towards the center of the room and up.
At the top of the room, you will see a brick wall, similar to the one you just opened with your feet. Kick it with your foot and you will enter another area. If you swim inside and up, you will be able to take a breath.
Read your notebook. It says: Rearrange the statues, they are the key. Swim towards the wall with a plaque, press action, and Lara says: The reunited brothers see the doors open. Behind each of the statues, you will see the name of each knight. There are two brothers or knights touching swords.
Look for the knights whose names begin with L and V (Lux Veritati). Pull the chains behind these knights, inside a niche. A scene will appear with lights on the knights’ swords, ascending to the top of the hall and destroying the dome so that it can open. Swim upward. Another scene appears. Lara swims upward and exits the water.
You are now in a cave. Continue through it until you see a crushing rock. Jump and walk to get past the rock. There is a lever on the right. Pull it. The floating platforms will appear. Jump onto the platform in front of you. The platforms in front of you will disappear. Turn to the right and you will see a small cave above you. Make a small jump to the platform that just appeared in front of you, then jump to the next platform that appeared and climb up to the one above that just appeared. From here, jump into the cave and take the small air tank.
Run and jump out of this cave onto the platform in the middle of the room. You will see three platforms near the cave in front of you. Jump onto the middle one and then onto the cave, or you can jump from where you are with a run and jump to the cave entrance. Continue through the cave to a room. There are two knights in this place who want to kill you. Ignore them so you don’t lose life and time.
Enter the room on the left and wait for them to follow you, then sprint (R2) to the opposite wall and pull the lever. You will gain strength. Walk to the left of the table and take the first aid kit on the table. Sprint to the opposite end of the room and to the left. There is a chain. Pull it until the tapestry is completely raised. Jump up onto the revealed portion of the wall and climb to the right. Grab the edge and continue to the right.
Climb up and stand on the wooden platform. Turn around and look at the room. There is another metal platform in front of you. Jump onto it. Look up. You will see a metal scaffold. Jump onto it and hold onto the scaffold. Head to the center of the hanging room and you will fall onto a platform. When you fall, you will begin to sink. Climb onto the scaffold immediately before it sinks completely.
A scene shows you a bookshelf moving on the wall. Go back to the metal scaffolding and return to the main level. Run to the side of the table. On the right is a cubicle with the last Obscura painting. Take it, go to the fireplace, and crawl inside. Open the door and walk toward a small pool. Remember the respirator? It’s difficult to reach the indicated tunnel.
Jump in. Swim down. To the right… Down, to the right. Keep going straight ahead. Down to the right. Left. Right. And up. (If you run out of air, use the mask to breathe. I don’t think these instructions are very easy, so explore it.) The right place to exit is a large flooded room.
A scene will appear. Eckhardt calls Lara an Amazon. He asks her for the dark paint to free Kurtis and her. Lara gives him the dark paint. Gunderson throws Muller toward Boaz, who has now transformed into a mutant monster. Kurtis helps Lara climb onto a platform. He tells her to get out of there. He gives her the fragments of the Orb and tells her that he will take care of Boaz. It’s time to kill Boaz.
Boaz Returns
First, you have to aim and shoot at its face. When it starts spraying green acid from the sides, move to the side where the acid is coming from and shoot it. You will notice that you hit the target. When it charges at you again, shoot it in the face again, and when it sprays acid again, shoot it on that side.
While you shoot at it, change the target (square button or End key). It takes about two or three rounds in less than a minute and a half to finish it off. When you kill it, a scene will appear in which you will see… just keep shooting at whatever comes up, it’s easier.